Water on a superhydrophobic surface
Experiment number : 4303
Goal of experiment
Several short experiments show the behaviour of water on a superhydrophobic surface.
Theory
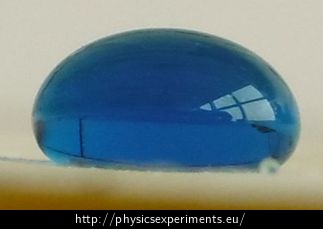
If we drop a liquid on different horizontal surfaces, we can observe that the shape of created drops varies (see the experiment Water droplets on various surfaces). If the angle between the drop and the surface (usually called the contact angle – see Figure 1) is less than 90°, we say that the liquid is wetting the surface. If the angle is greater than 90°, the liquid does not wet the surface. A special case occurs if the angle is greater than 150° – in this case we talk about a superhydrophobic surface.

Figure 2 shows a droplet on a paper sprayed with a superhydrophobic spray – the contact angle in this case is approximately 160°.

Equipment
Hydrophobic surface:
Almost any material can be used as a substrate for spraying with a superhydrophobic spray. Very impressive is a paper tray, which has almost the same shade as the spray itself (and therefore the spray is not visible at first sight). A laminated sheet of paper is good for creating pictures and hidden lettering, and you can also use plexiglass, etc.
The superhydrophobic Rust-Oleum NeverWet spray is used in the experiments, but other (usually two-component) sprays can also be used. Normal impregnation on clothing is not suitable, the surface is not hydrophobic enough
Painter’s paper tape has proven useful for creating pictures and hidden lettering.
Other equipment
Water, food or other dye, eyedropper/sprayer, etc.
Experiment 1: Water on normal and superhydrophobic surfaces
To compare the behaviour of water on a normal and superhydrophobic surface, it is useful to work with a normal surface, half of which has been sprayed with the superhydrophobic spray. In our case, a clean acrylic glass is on the left and a sprayed one is on the right.
Experiment 2: Water on a paper tray
Drop a few drops of water on a paper tray sprayed with the superhydrophobic spray and observe their behaviour.
You can see that the droplets splash, bounce, join back together into one and then bounce back into the air. Then the whole process repeats again. The video shows this process captured by a high-speed camera, and the oscillation of the drops as they fall and after bouncing can be observed.
Experiment 3: Water rectangle
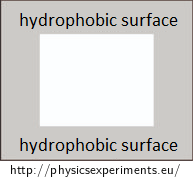
The surface (acrylic glass) is clean in the middle and the edges are sprayed with the superhydrophobic spray (Figure 3). This creates a space in the middle, where water can be poured and, unlike the rest of the substrate, it will stay there.

It is possible to measure the height of the formed “water rectangle”, to observe the behaviour of water hitting the almost vertical wall at its edge, etc.
Experiment 4: Hidden text
For this experiment, a white laminated sheet of paper is a good surface - the superhydrophobic layer is almost invisible on the white surface, and the lamination protects the paper on a spot where it is not sprayed
The superhydrophobic layer is sprayed outside the wanted text or image, so that it “appears” after pouring water.
Technical notes – creating of a hidden inscription
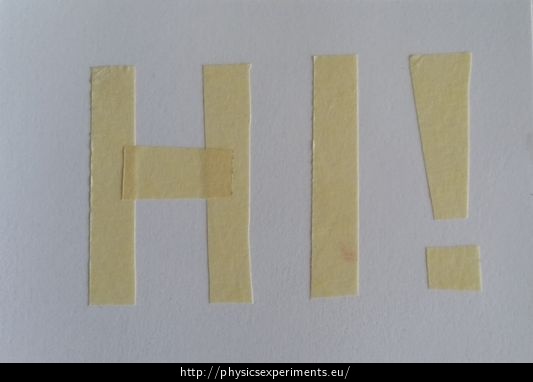
A laminated quarter has proven to be a good surface for a hidden text and images. The image or text is prepared on the laminated quarter using painter’s masking tape (we use it because it is easy to take off and there is no glue left behind) – Figure 4. Then the entire plate is sprayed with the superhydrophobic spray and the masking tape is carefully removed when dry.

What to be careful of:
When spraying, follow the instructions. On the surface there should be no puddles etc.
The used superhydrophobic spray has two layers, the first one has the character of an adhesive. It is therefore a good idea to cut (not tear) the masking tape at the edge to break the adhesive layer and avoid disturbing the superhydrophobic layer.
It is useful to think of simple shapes for lettering and pictures – too complicated shapes can no longer be sculpted nicely by water.
The image can also be created in reverse – so that the water sculpts its surroundings.


