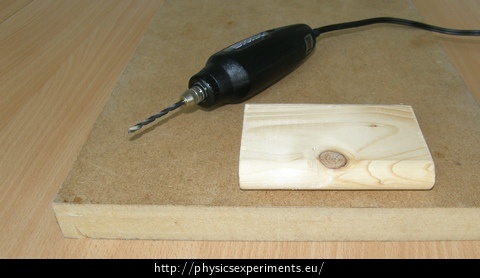
Change in Internal Energy by Performing Work: Drilling in Wood
Experiment number : 4341
Goal of experiment
We will show the increase of temperature of a drill and a wooden board when drilling a hole.
Theory
The First Law of Thermodynamics states:
\[\Delta U\,=\,W\,+\,Q,\]where ΔU is the internal energy change of the system, W is the work done on the system and Q the heat supplied to the system. It means that the change of internal energy of any thermodynamic system (that does not exchange particles with its surroundings) can be done in two ways – heat exchange and doing work. In our case, the work is done by the drill bit penertating the wood. The friction between the drill bit and wood causes the particles at the metal-wood interface to oscillate, thus increasing the temperature of both materials.
Equipment
Thermal imaging camera, wooden board (with a suitable underlay if necessary), drill or micro drill.
Procedure
Without stopping, drill a hole in the board as deep as possible, so as not to drill through it. Observe the point of penetration of the drill bit into the wood with a thermal imaging camera.
Sample result
The video below shows a successful execution of the experiment using a drill.
In this video, the FLIR i7 thermal imaging camera was used. The temperature range of the colour scheme was set in the interval of 25 °C and 31 °C, the emissivity was ε = 0.95.
Technical notes
Whether the experiment is carried out by a teacher or a pupil, we should always check that the board is securely fastened so that there is no danger of it being ejected during drilling.
If we are worried that we might drill through the underlay, it is advisable to use another piece of wood under the board.
Pedagogical notes
In the video above, the upper limit of the temperature range was set to 31 °C, so anything with a higher temperature is shown in the same color in the video. However, if we don’t limit the temperature range, we would find that the drill bit heats up to a higher temperature than the wood. This observation can be made by the students themselves, and together we can formulate a problem task as to why this happens – this experiment can be linked to the concept of different specific heat capacities of substances, which is addressed in, for example, the problem task Comparing Specific Heat of Water and Vegetable Oil.
Thermal imaging camera basics – link to PDF
In this experiment, a thermographic measurement is used. The theory of thermography and basic recommendation and procedures that can help you obtain more accurate and undistorted results can be found in Experiments with thermal imaging camera (in Czech only).


